Proxy Information for Students
Follow these steps to grant others permission to access information. Once you complete the authorization, an email will be sent to your added proxy at the email address you provided. The email will provide specific instructions for setting up their Proxy Access account. As a student, you control proxy access and can add or revoke access at any time.
If you have previously given other people your Xavier University ID and password, it is recommended that you change your password and ask them to use their own Proxy Access login instead.
Step 1: Add Proxy Access
-
- Go to the Student Hub, click on "Self Service" and log on.
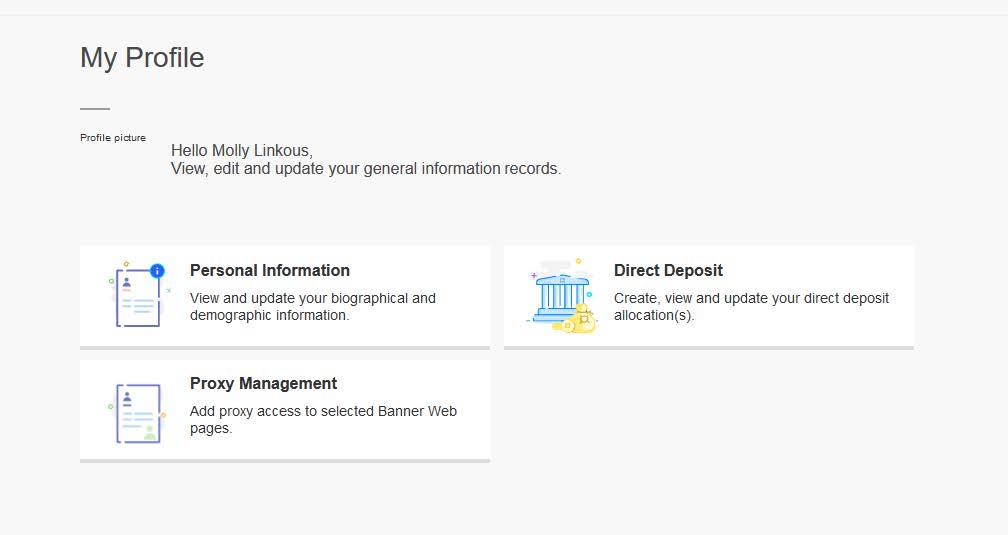
- Select the "My Personal Information" link, and then select the icon for "Proxy Management."
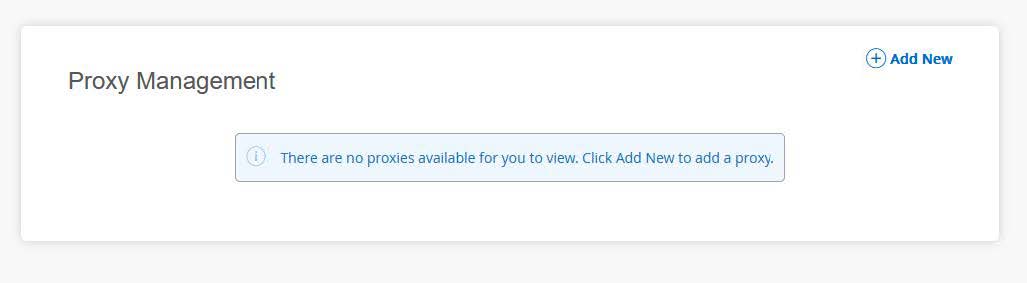
- Click on this link labled "Add New."
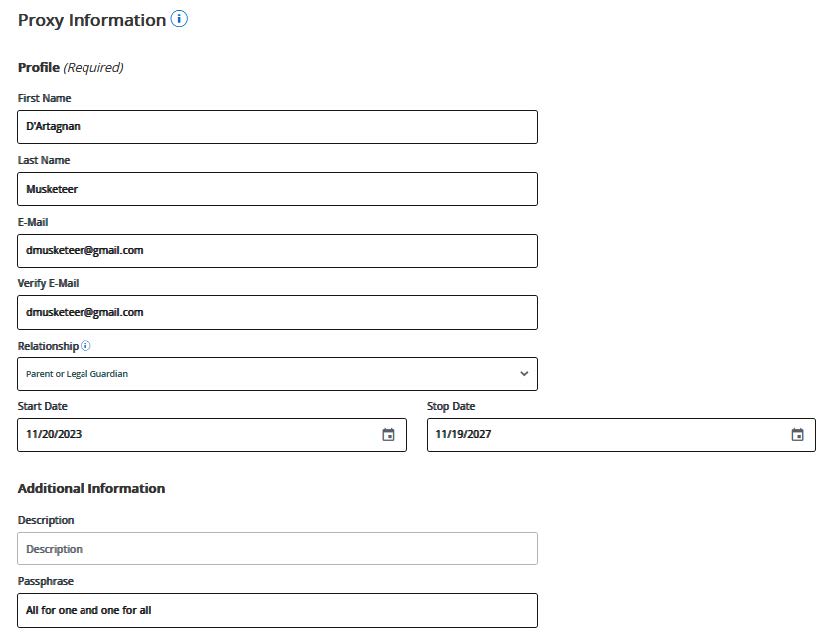
- Complete the information for the parent or guardian you would like to have access to your information.
- Select the Authorizations you would like your Proxy to have access to.
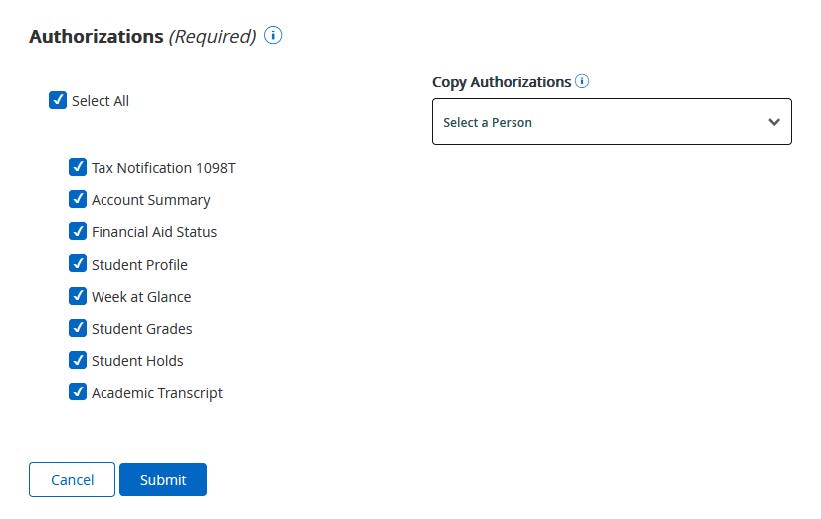
- If you are setting up more than one Proxy, you can use the Copy Authorizations drop-down to set the same authorizations as another Proxy.
- Next set the relationship type
- Enter a description of the reason why you are approving the disclosure and sharing of these records (examples: “Providing my mom with access to my student records”, “I want my parents to have access to my information”, “I would like dad to be able to receive information about my records”, “To discuss advising”, etc.)
- Enter a passphrase. This is only required IF you are allowing the proxy to have verbal conversations with anyone at Xavier University. This allows the university to verify their identity.
- If you would like, adjust the amount of time your parent will be given access (default is four years from today).
- If you set a passphrase, select the "E-mail Passphrase" icon. This will send your proxy an email with their passphrase.
- Wait for your parent to confirm by following the link in their email, then, have your parent complete steps 1-4 of "Activating Your Proxy Account". You will receive the same emails your Proxy receives as confirmation of them being sent.
- At any time, you can remove a Proxy or edit their access, send a link to reset their password, or send an email containing their passphrase.
Get Started: Add Proxy Access Now
Download the printer friendly version of these instructions.
Questions? Need help? Contact the Office of the Registrar at xureg@xavier.edu or (513) 745-3941.